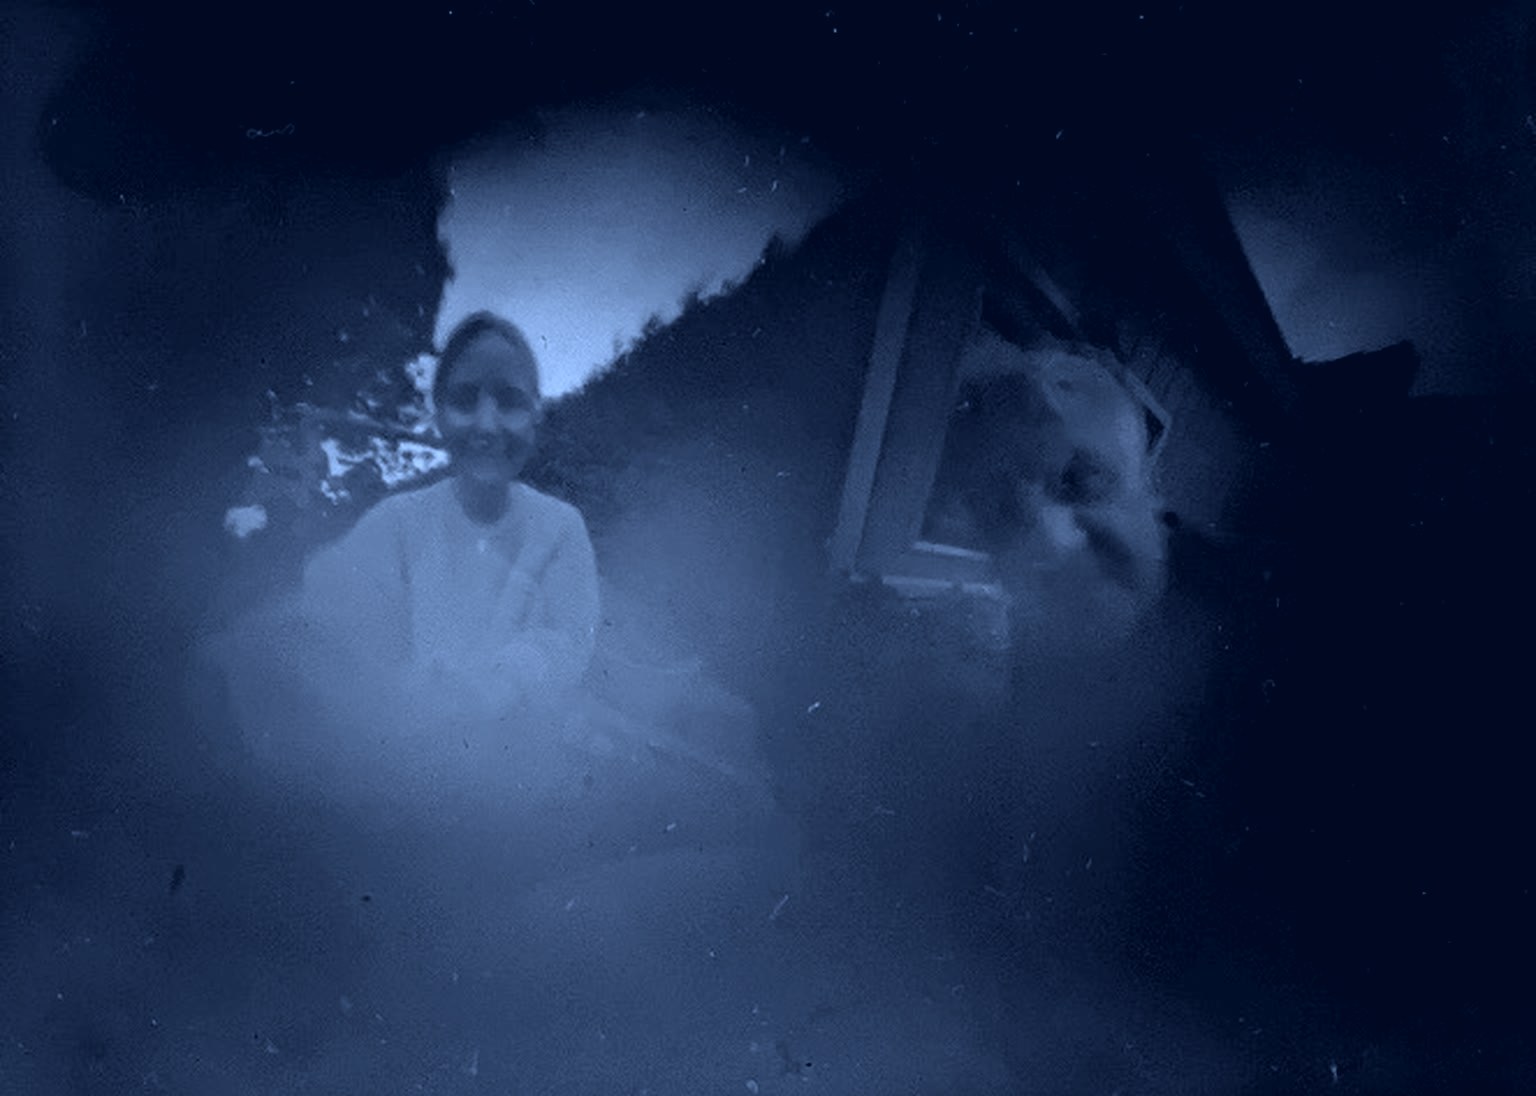
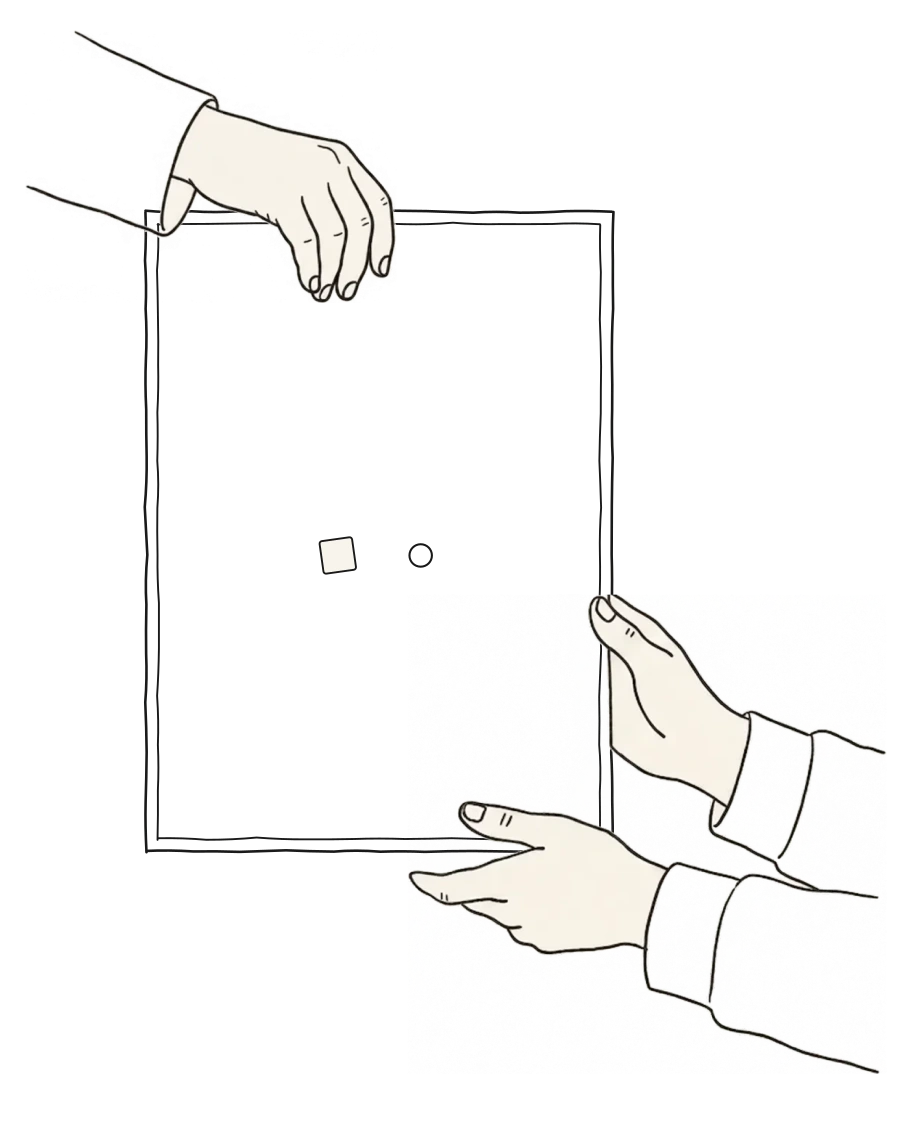
Both In Time is an analog pinhole camera. You expose one half, someone else the other. This guide walks you through both halves, from the first hole to the finished image.
The finished image: two exposures, developed in coffee.
Step by step, with videos
01
Expose
Pierce the hole and leave the needle in. Set the camera down and aim it. Pull the needle: now the camera is exposing. Then tape the hole shut.
What's in the envelope
Two strips of tape, to seal the hole after exposing.
A needle, to pierce the hole.
A piece of red foil, to turn your room into a darkroom.
How the image formsNo lens, no electronics. Light falls through a tiny 0.3 mm hole. A small, upside-down image forms on the back wall. Straight onto the light-sensitive photo paper, like in a darkroom.
01 · Pierce the hole
Push the needle through the centre of the aluminium plate. Leave it in. It seals the hole until you are ready.
02 · Mount the camera
Choose a high-contrast subject, ideally in sunlight. Fix the camera so nothing can move: a table, a tripod, some tape. The camera sees very wide: from 3 m a whole tree fits the frame. For a portrait, move in to about 20 cm.
03 · Calculate exposure
How long depends on the light and the subject. The exposure-time helper works it out for you.
Is the camera steady and aimed at your subject? Then pull the needle out. The camera is now exposing. Nothing may move until the time is up.
05 · Seal the hole
Tape the hole shut right away. Write the exposure time, the date and the place directly under your own hole. Left or right, whichever half you exposed. That way the second person knows which notes belong to which half.
06 · Make it yours
Decorate the front of the camera: letters, photos, drawings, messages. However you like.
Pierce the hole
Mount the camera
Calculate exposure
Expose
Seal the hole
Make it yours
02
Pass it on
The camera travels on. The second person exposes the second half when the time is right.
01 · A gift that waits
The camera is a gift. Pass it to the second person when the time is right. Maybe in a year, maybe not until a child has grown up. The second hole stays untouched until then.
02 · Mount the camera
Pick your subject. Set the camera down so nothing can move: table, tripod or tape.
03 · Calculate exposure
How long depends on the light and the subject. The exposure-time helper works it out for you.
Push the needle through the centre of the second aluminium plate. Leave it in until you are ready.
05 · Expose
Is the camera steady? Then pull the needle out. The second half is now being exposed.
06 · Seal the hole
Tape the hole shut right away with the second strip. Write your exposure time, the date and the place under your own hole too. Each half then carries its own notes.
07 · Make it yours
Now decorate the front: write, draw, glue things on. However you like.
A gift from the past
Years later, it reaches you
Pierce the hole
Calculate exposure
Expose
Seal the hole
03
Develop
The negative appears in Caffenol: instant coffee, vitamin C and baking soda. The negative then becomes your finished positive.
Ingredients for the Caffenol developer
250 mllukewarm water
15 gbaking soda · approx. 3 tsp · from the drugstore
4 gvitamin C powder · approx. 1 tsp · from the pharmacy
10 ginstant coffee · approx. 7 tsp · ordinary instant coffee from the supermarket
You'll also need
A room you can make completely dark: the kitchen at night, a windowless bathroom or the cellar.
Two shallow trays: one for water, one for the developer.
A red lamp, or the red foil over an ordinary lamp. Always aimed at the ceiling, so the red light only reaches the trays indirectly.
A camera or a smartphone to photograph the result.
Mix
Stir all ingredients together in a bowl in this order. Let it stand for a few minutes before you begin.
How your kitchen becomes a darkroom
The room has to be truly dark. So dark that without the red lamp you see nothing at all. The red light does not replace the darkness. It is only the one light allowed to be on in it.
Wait for night and switch off every light, in the hallway and the next room too.
Or tape cardboard over the windows, or hang a dark blanket in front of them.
Easiest of all is a room with no windows: a bathroom, a storage room or the cellar.
The test: stay in the dark room for five minutes. If your eyes have adjusted and you still see no bright cracks or edges, the room is ready.
01 · Build the red light & darkroom
Tape red foil over an ordinary lamp and point it at the ceiling. Red is the only light the photo paper can take. Put the lamp in your darkened room. It is the only light in there. Open the camera only when both are ready: the dark room and the red light inside it.
02 · Red light & open
The room is completely dark. Only the red lamp is on. From here on, everything happens under red light, or the light-sensitive paper will be ruined. Open the camera and take out the photo paper.
03 · Develop
Put the paper into the Caffenol and turn it now and then. The image comes up slowly, over several minutes. Lift it out when it reads clearly but has not gone too dark.
04 · Rinse
Put the picture back into clear water. That stops the developer.
05 · Photograph
Photograph the wet picture right away. It keeps changing in the light, the way memories do. Work fast.
06 · Negative → positive
At first your photo is a negative. Upload it. The negative-to-positive helper turns it into a positive.